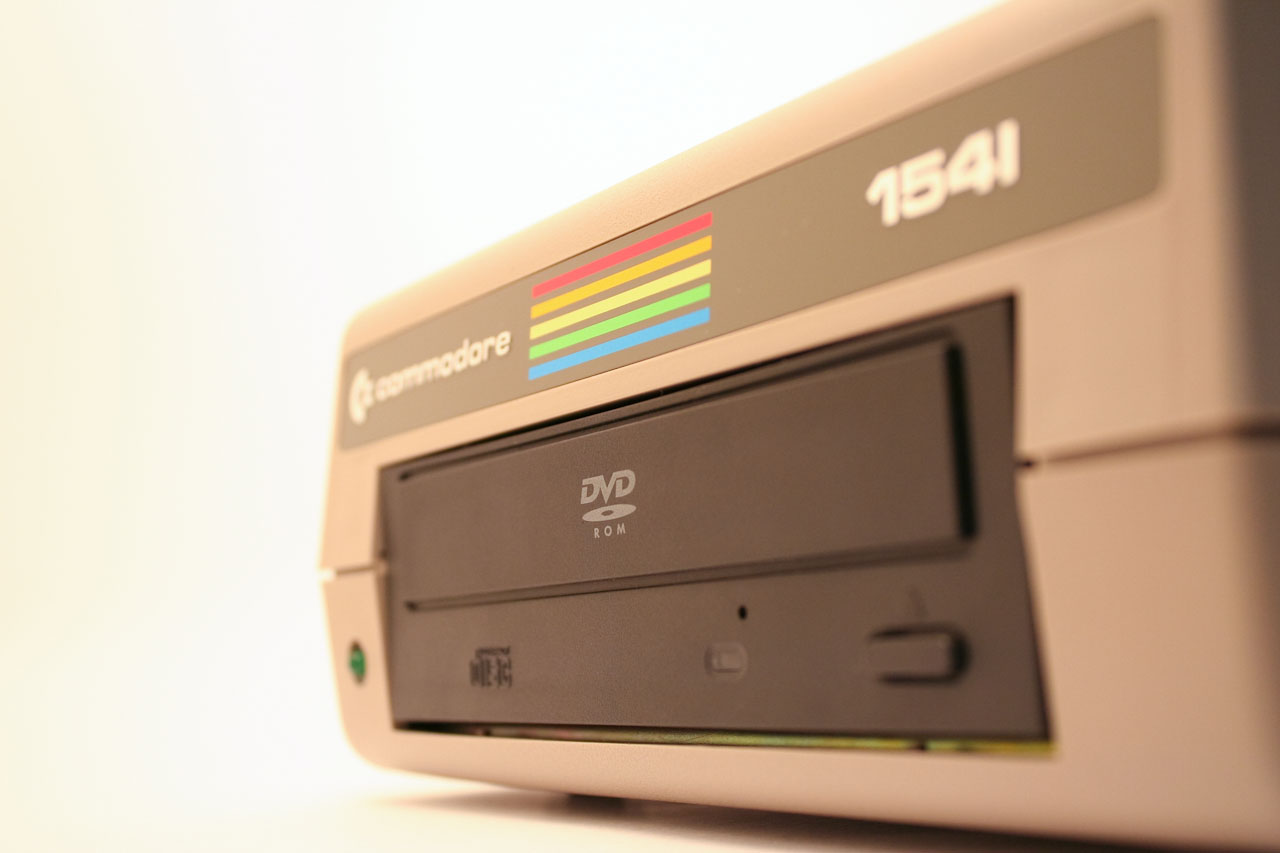
This is something I built in 2010 after reading an article (which appears to be gone now) about using the guts from an IDE hard drive enclosure with a DVD-ROM drive to create an external optical drive. External DVD drives were becoming more of a necessity at the time for IT pros such as myself since laptops were beginning to ship without them built-in. I had all the parts, but got the idea it would be cool to stuff it all in an old 5-1/4" floppy disk drive enclosure. So I purchased a dead Commodore 1541 off of Ebay for $10 and got to work. This was one of my earliest attempts at making something. I didn't really know what I was doing and just kind of figured things out the best I could as I went along.
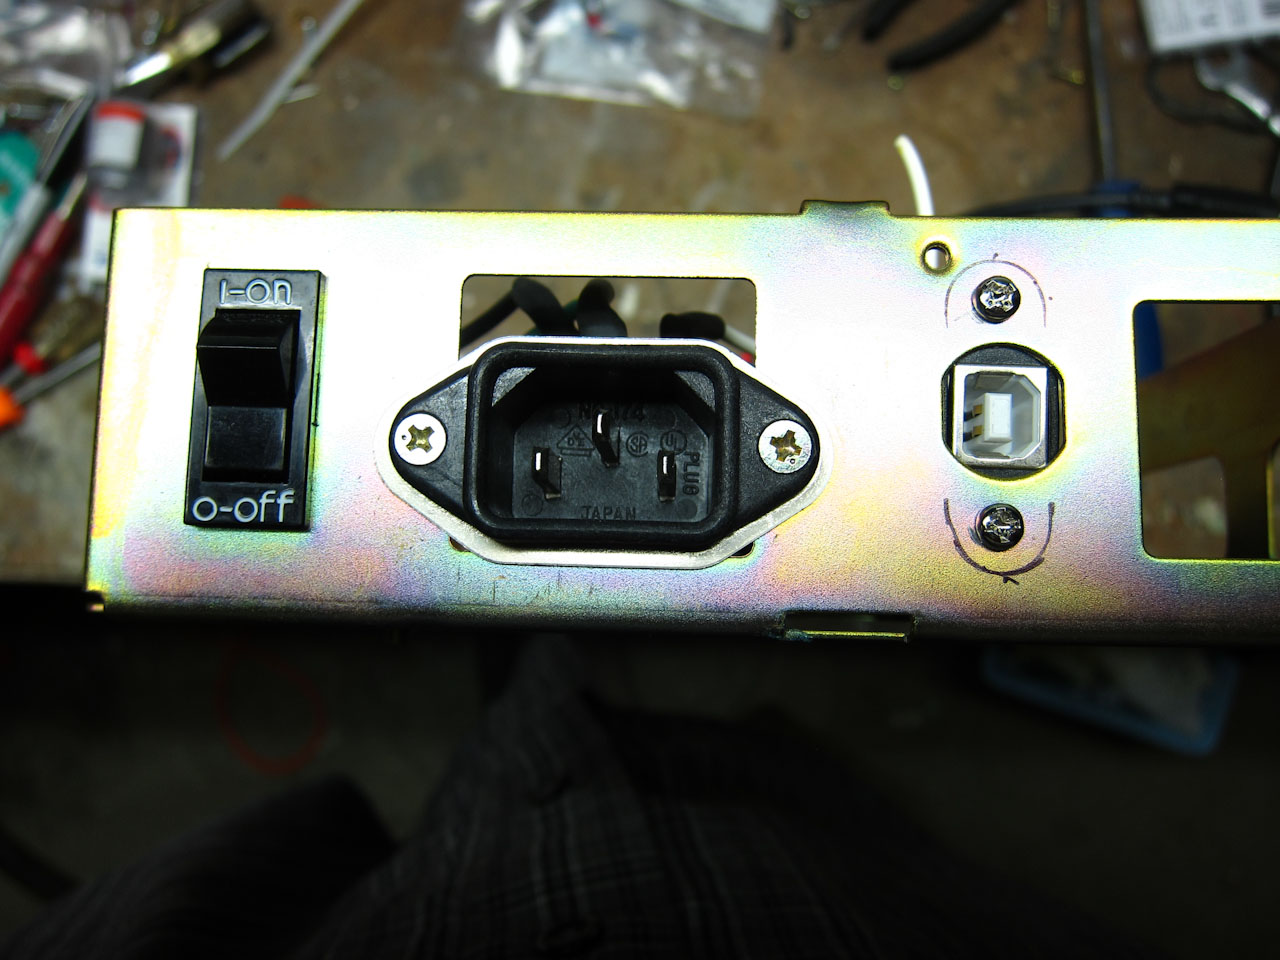
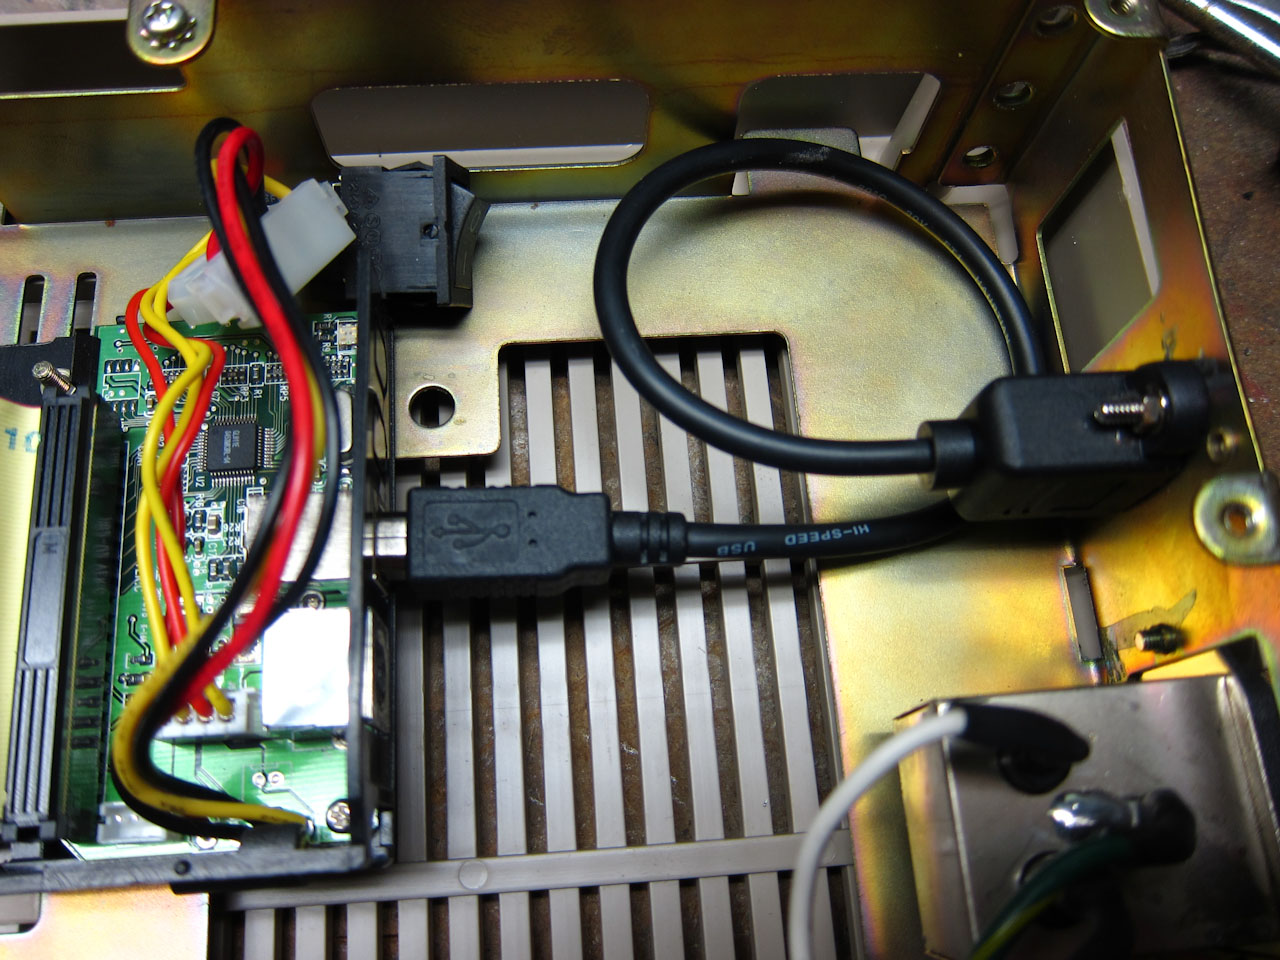
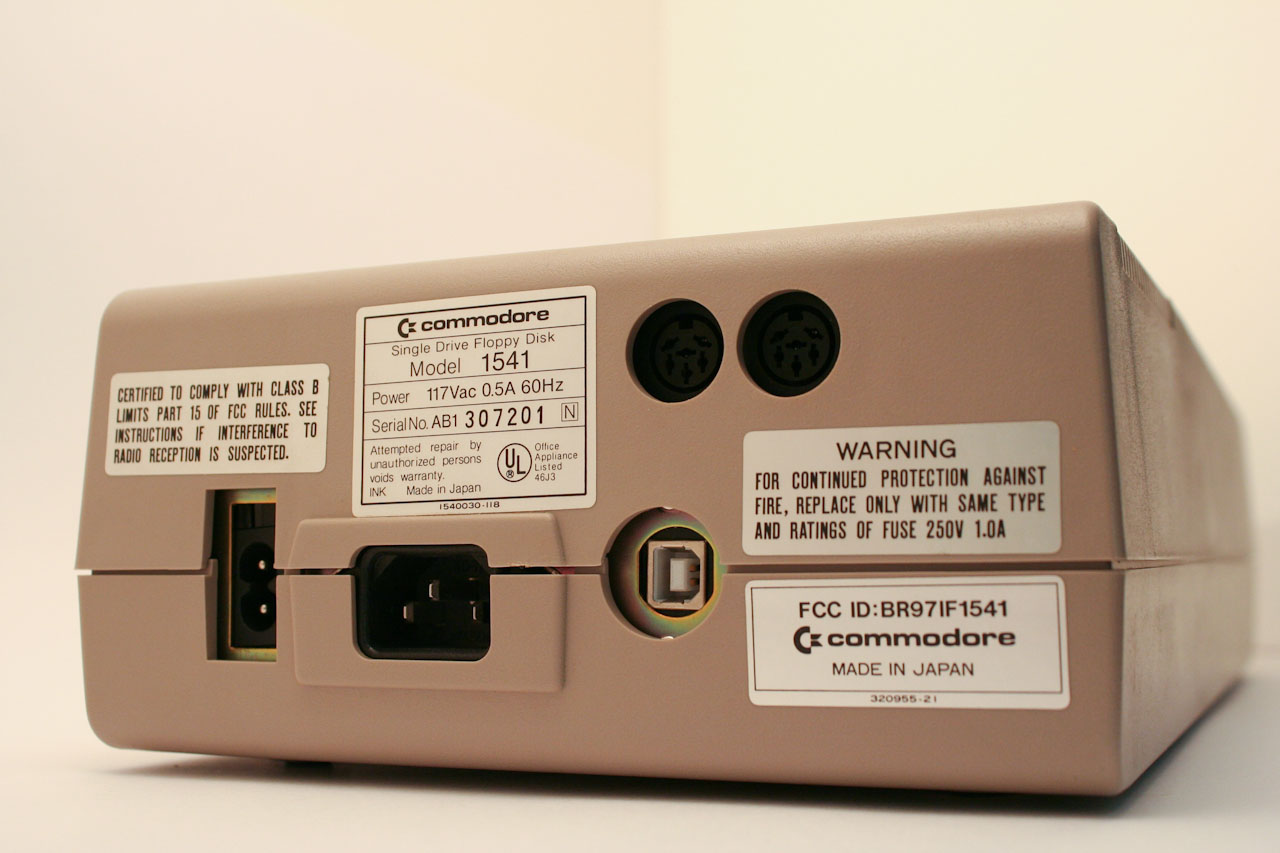
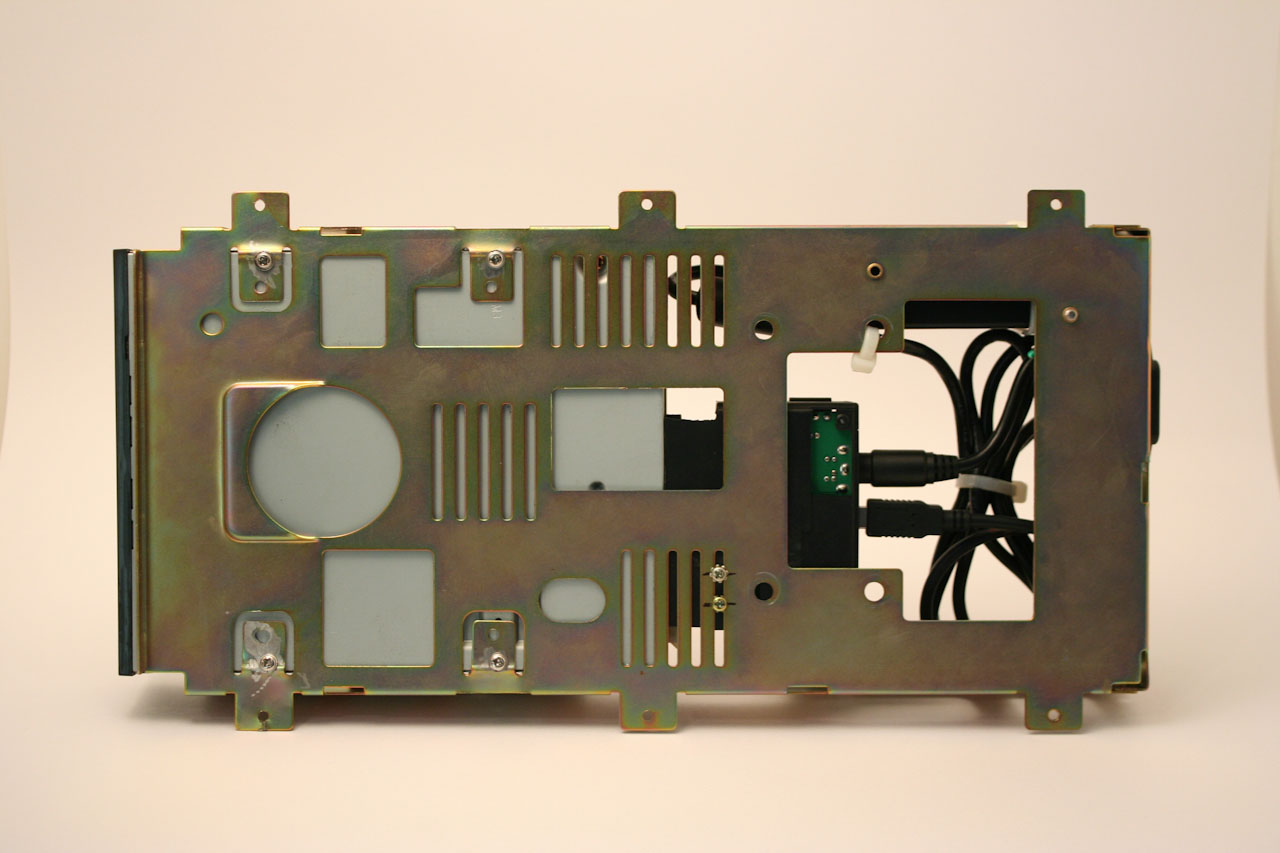
The hard drive enclosure consisted of a plastic frame that slid into a metal enclosure. I cut off most of the plastic frame, leaving just enough to hold the PCB board and then mounted it to the metal frame of the 1541 drive. I bought a panel mount USB cable and installed it where the 1541's fuse had been. Originally, I intended to use the power switch on the back to switch the IDE adapter circuit on and off, but I ended up removing it to install the adapter's power supply in that position. I did this due to space constraints. What I wanted to do was use the 1541's original power connector to bring power to the adapter's power supply, but I was having trouble making it work. So it's just sitting there with no purpose. If I built it now, I'd try to find a way to make it work. But I was pretty green when I did this.
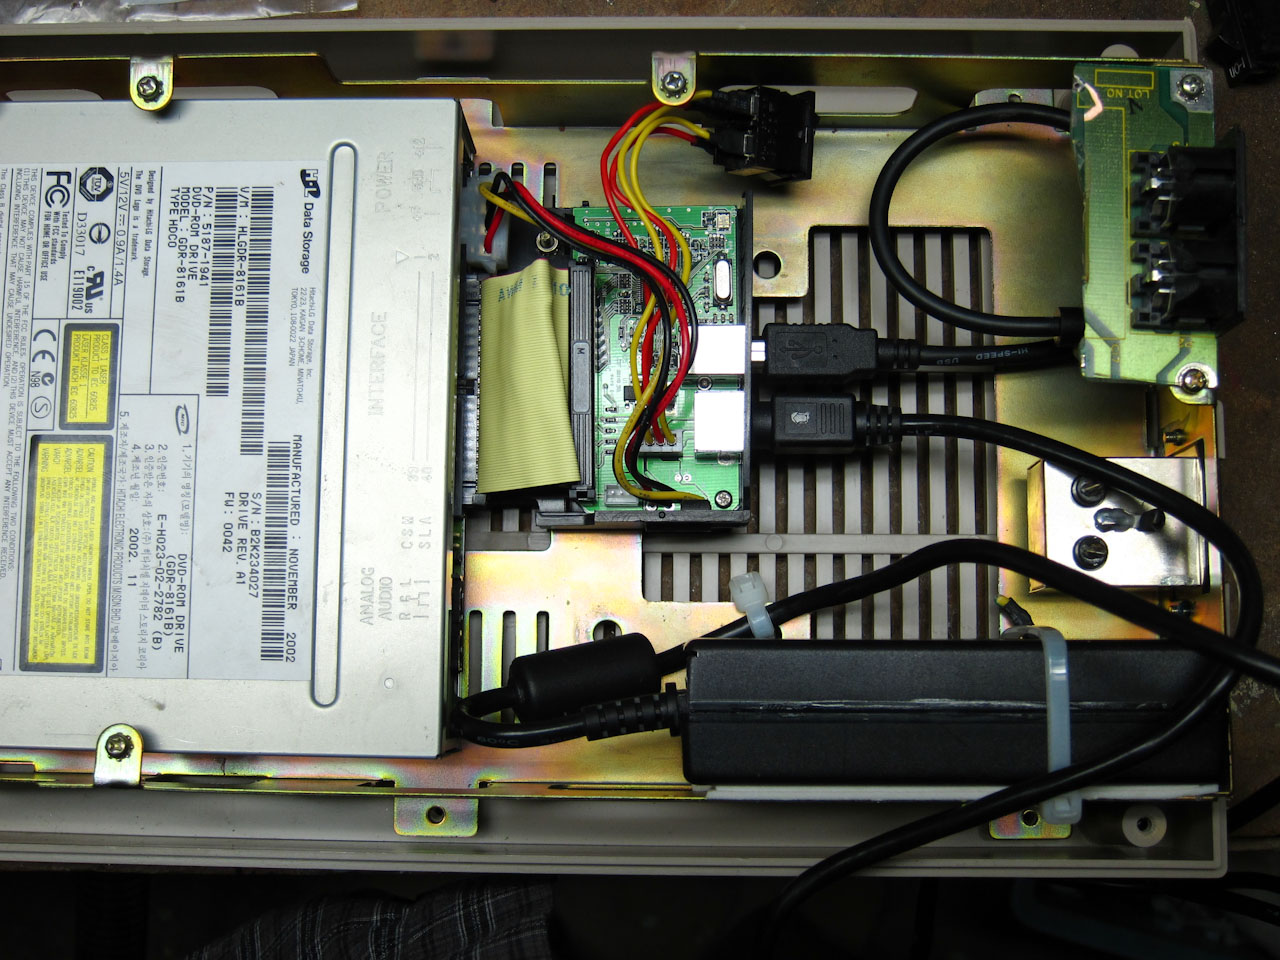
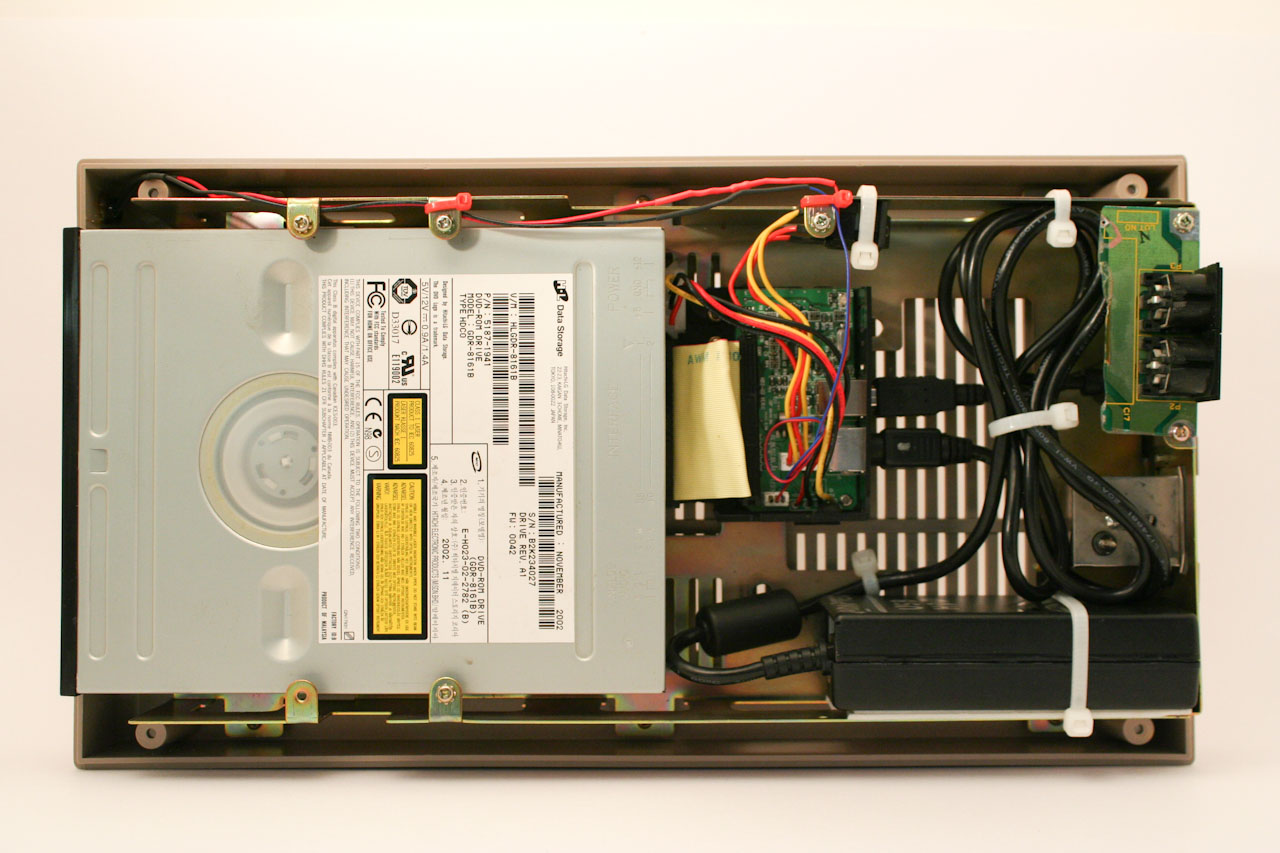
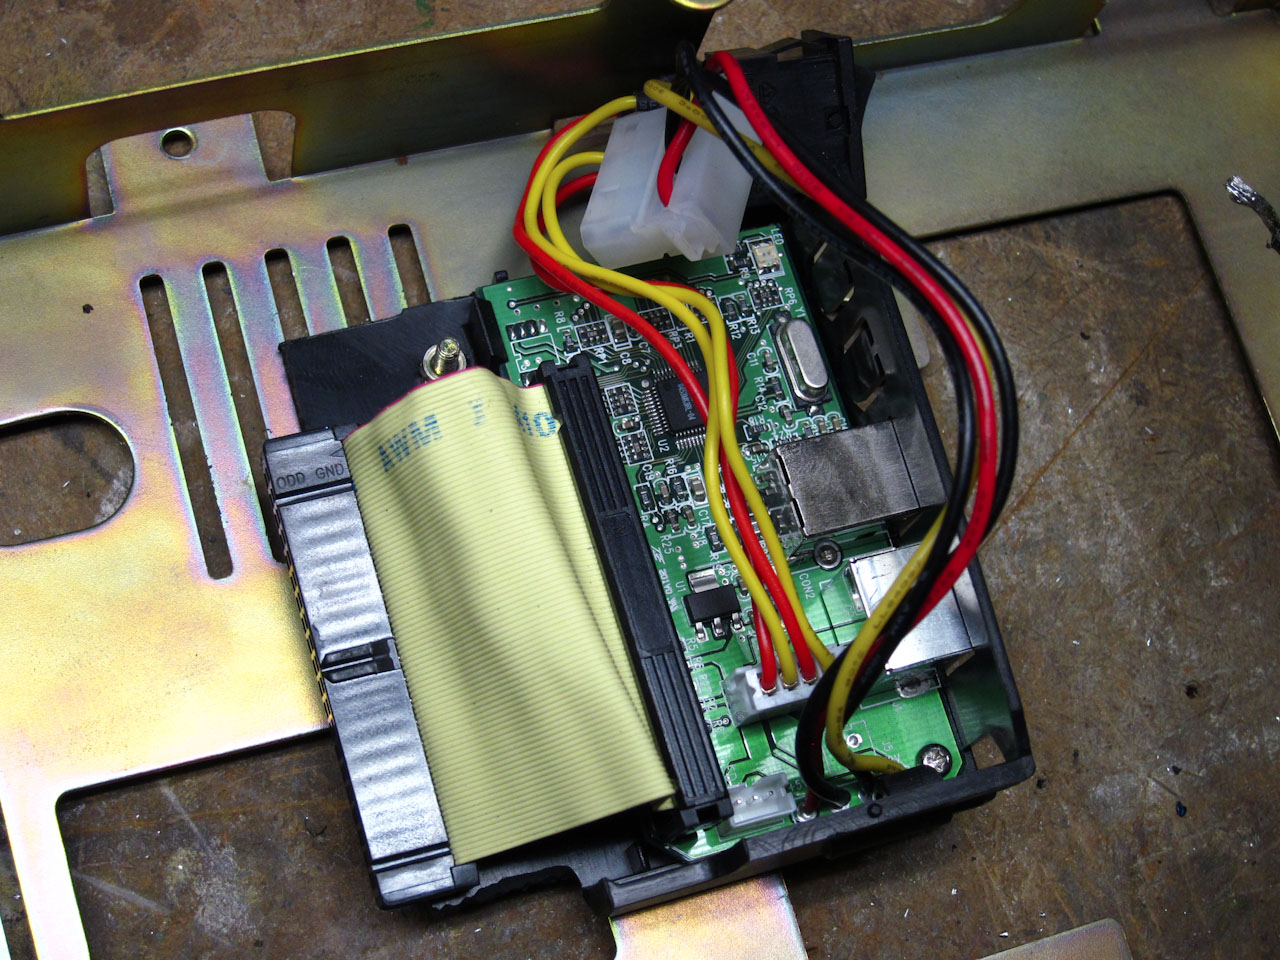
The adapter circuit has a DPST switch that switches power on the 5v and 12v rails. I thought of cutting a hole somewhere so I could utilize it, but didn't get to it, so it's switched on and mounted internally. If I did this now, I'd jumper the connections and use the built-in switch to switch the AC power, but again due to space constraints I didn't do it that way. Using a circuit with a smaller power supply would make this easier to accomplish. The metal tabs on the 1541 frame that hold the floppy drive in place are bent down and flattened. I drilled holes and mounted the DVD-ROM drive from underneath. I kept the original LED and wired it to the IDE circuit board with a series resistor. I knew nothing about LEDs and picking correct resistors to limit current at the time, so I asked a coworker who understood electronics and he gave me a 330ohm resistor which results in around 10mA of current off the 5v DC supply.
The completed drive looks good. I used it to reload operating systems, rip audio CDs, play movies and everything works great. I have had problems getting it to work on some computers in later years; I'm guessing maybe the IDE adapter isn't compatible with newer version of Windows, or it might be finicky with USB 3.0 ports, etc.
Here it is in action: