I built a couple PLC trainers because I was interested in learning more about them. I worked in manufacturing for several years and was aware of them, but never had the opportunity to work with them beyond writing some code for HMIs. I was interested in understanding how the actual PLCs work and learning ladder logic. I could have just done that in an emulator, but I wanted to see a real, physical PLC in action and wire it up myself.
CLICK PLC Trainer
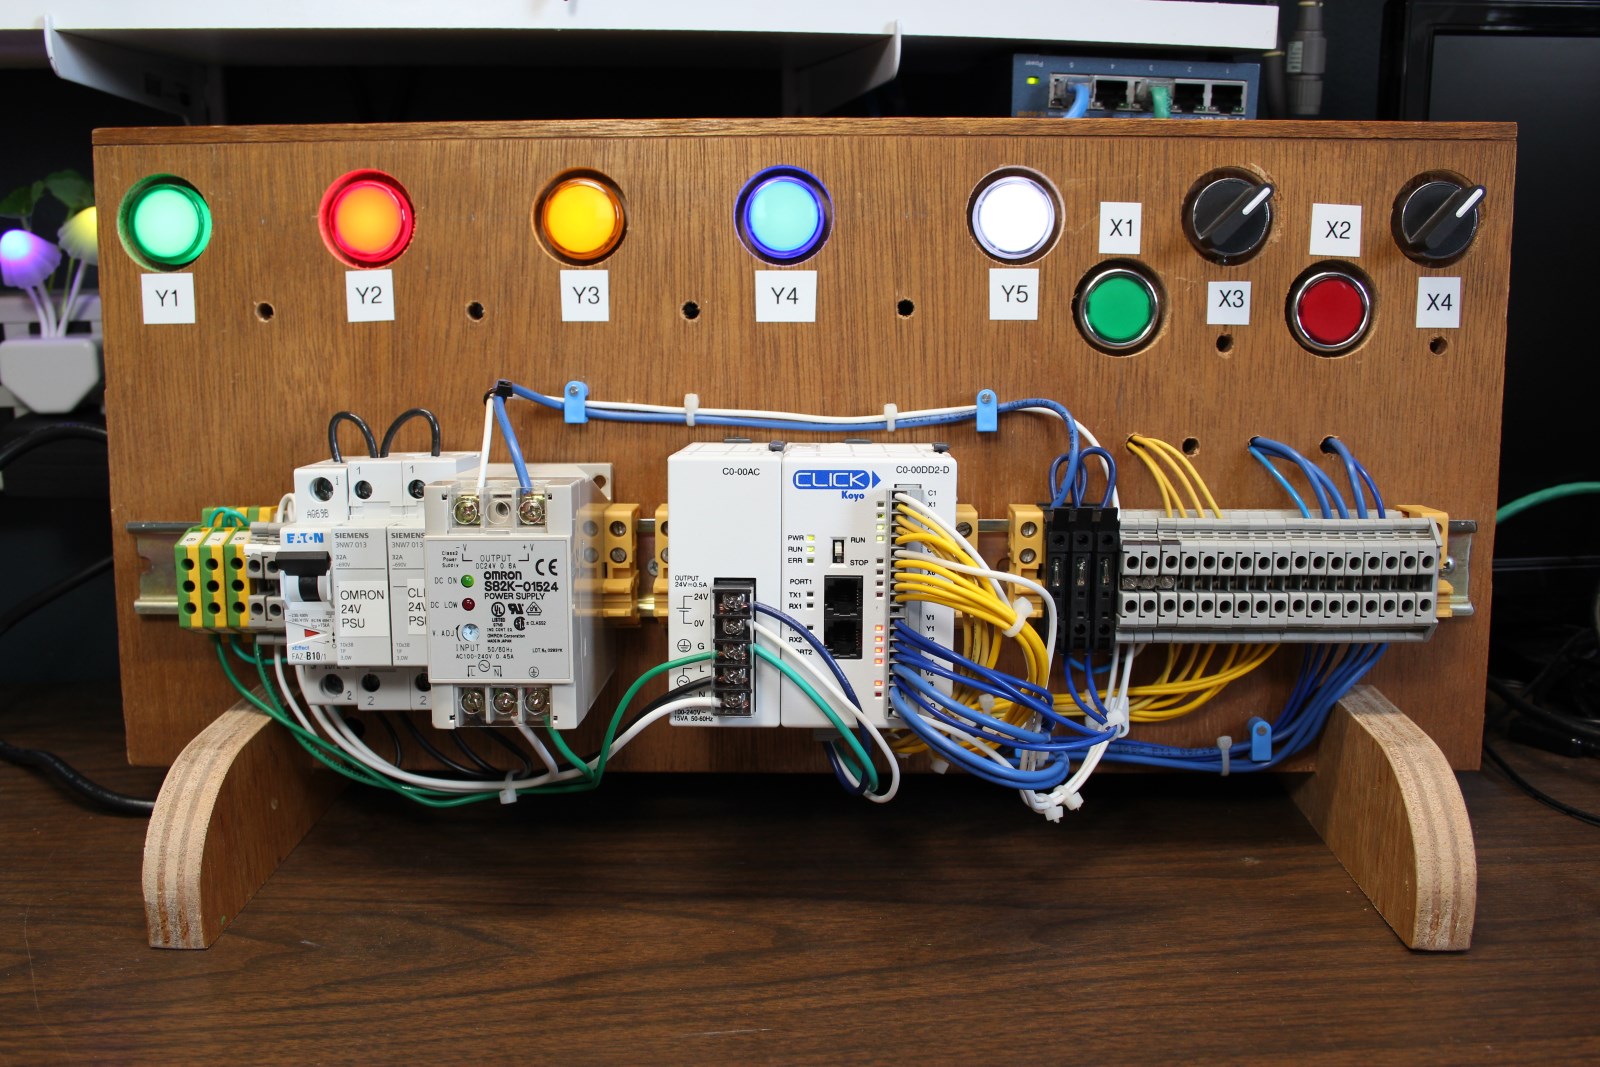
The first trainer I built utilizes a CLICK Basic PLC (model C0-00DD2-D). I chose it because CLICK PLCs are relatively inexpensive, have free software, and there’s plenty of documentation and video training available to help complete beginners like me get up and running quickly.
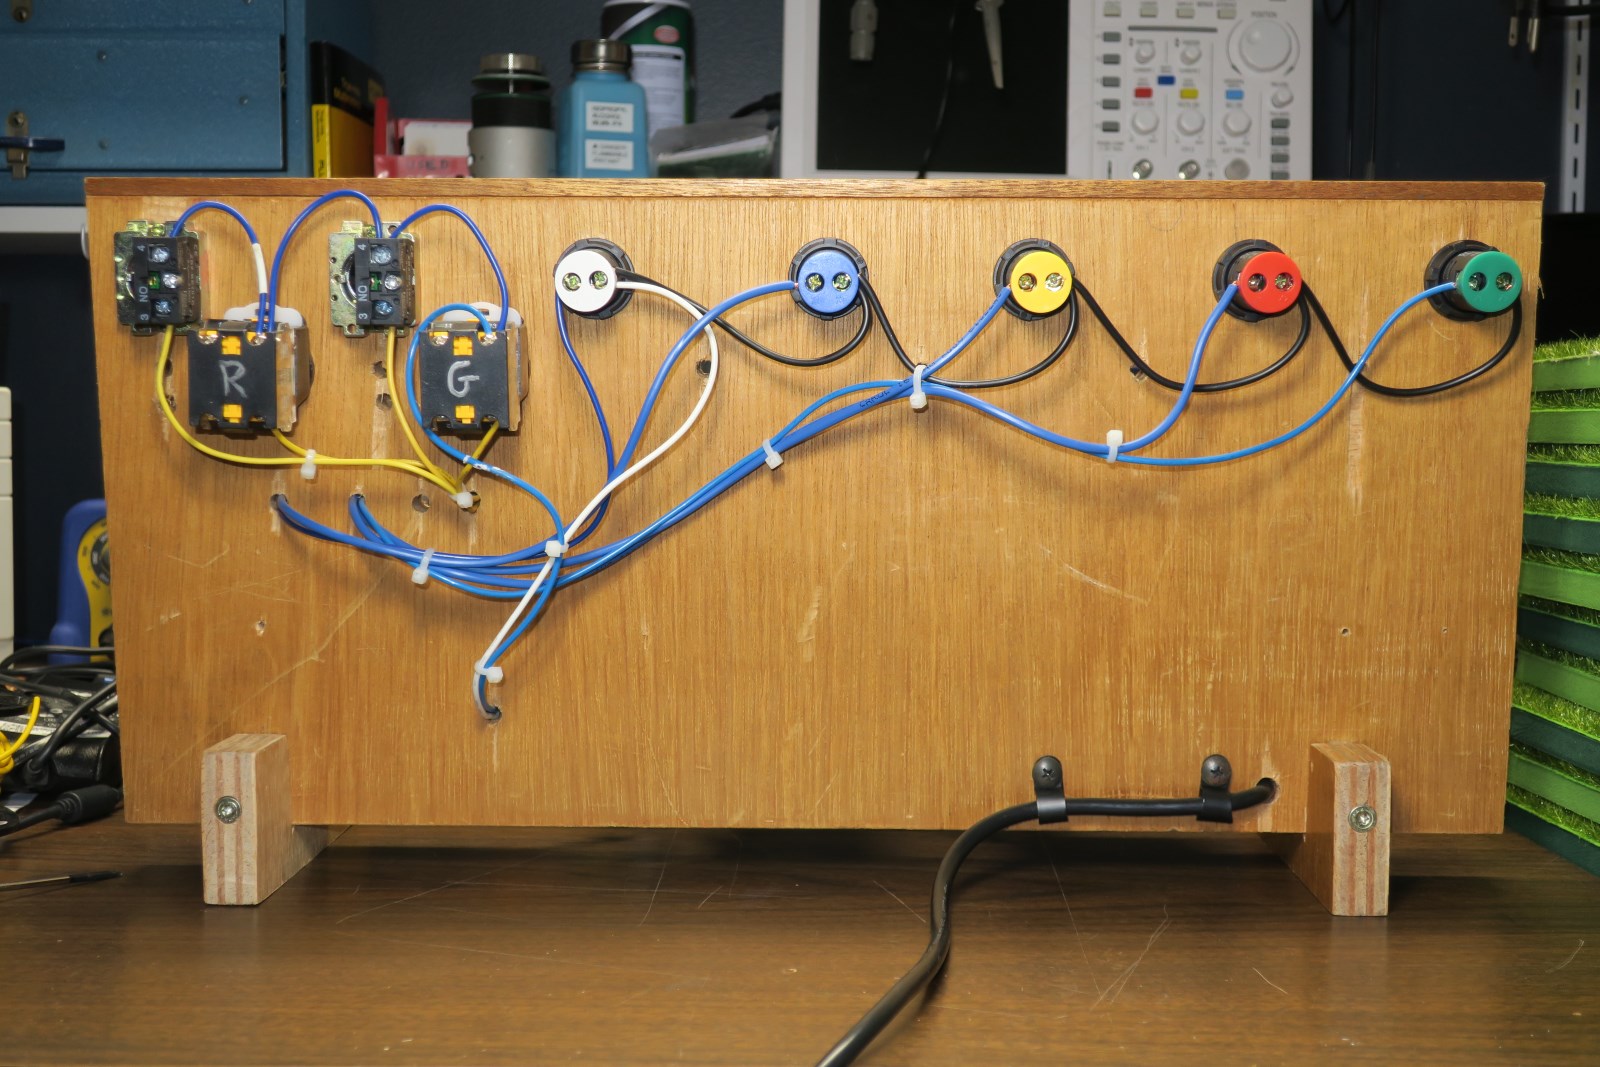
I built the base of the trainer from scrap plywood. Holes are drilled in several places to allow wire to pass through between the front and back of the trainer. Mounting locations were created for several indicators and switches, and a DIN rail was attached where the PLC and other equipment could be mounted.
For my first attempt at building a PLC trainer, it turned out really well. But I immediately saw there was room for improvement. In wiring up the PLC, I opted to use a separate power supply for the I/O devices, and I connected the devices using terminal blocks. While this does emulate how a PLC may be wired in a production environment, it is overkill for a trainer, and resulted in it being larger and more complex than necessary. I also did not fully utilize the I/O of the PLC.
MicroLogix PLC Trainer
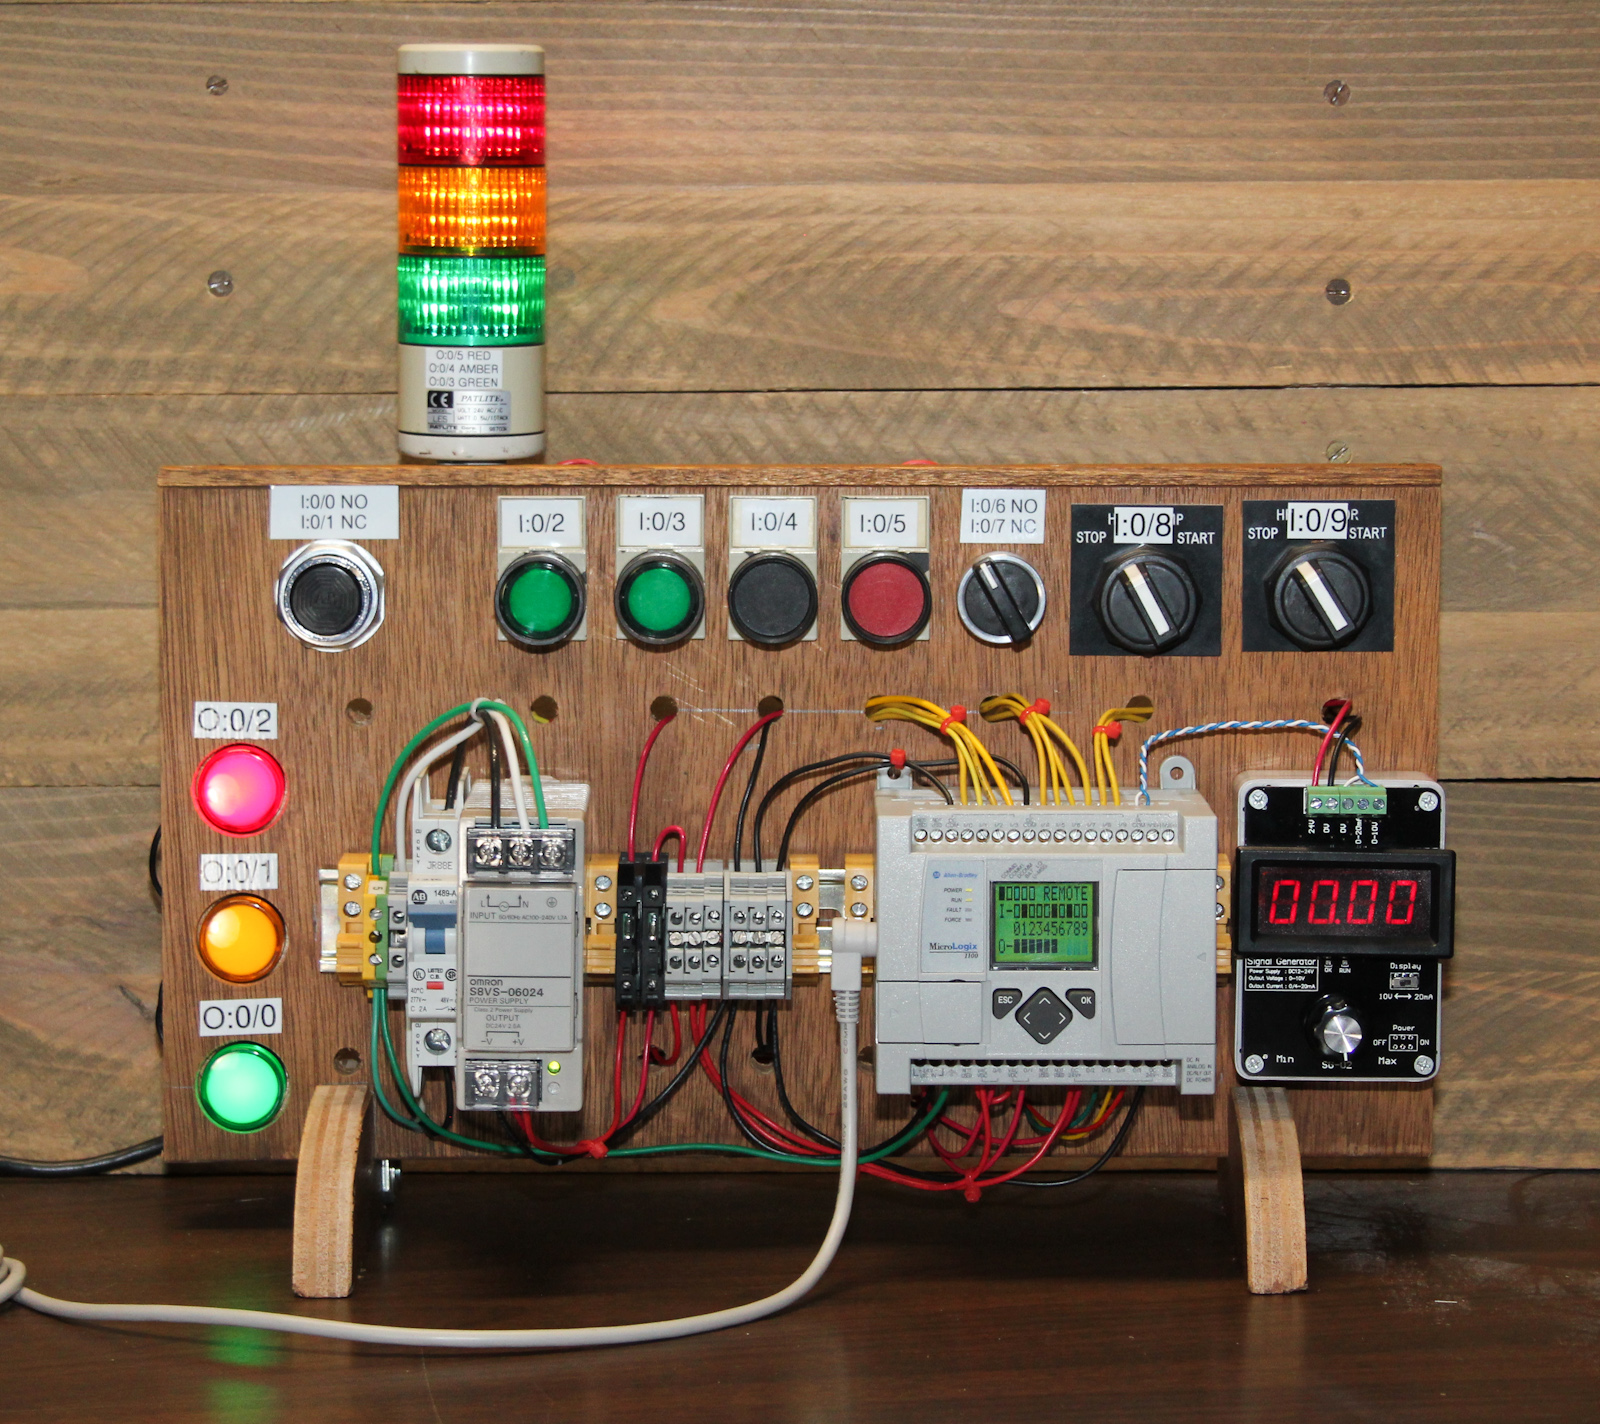
Taking what I learned from building the first trainer, I soon built another with the goal of improving upon the first one. This time, I included a MicroLogix 1100 PLC so I could learn to program using RSLogix. That is the software that Paul Lynn utilizes in his introductory course to PLC Programming, which I was taking at the time.
This trainer is a significant improvement over the first one. It’s more compact, less complicated, and offers more switches and indicators for testing. All of the digital I/O is used. And since the 1100 has analog input, I added an inexpensive signal generator that provides a 0-10v signal.
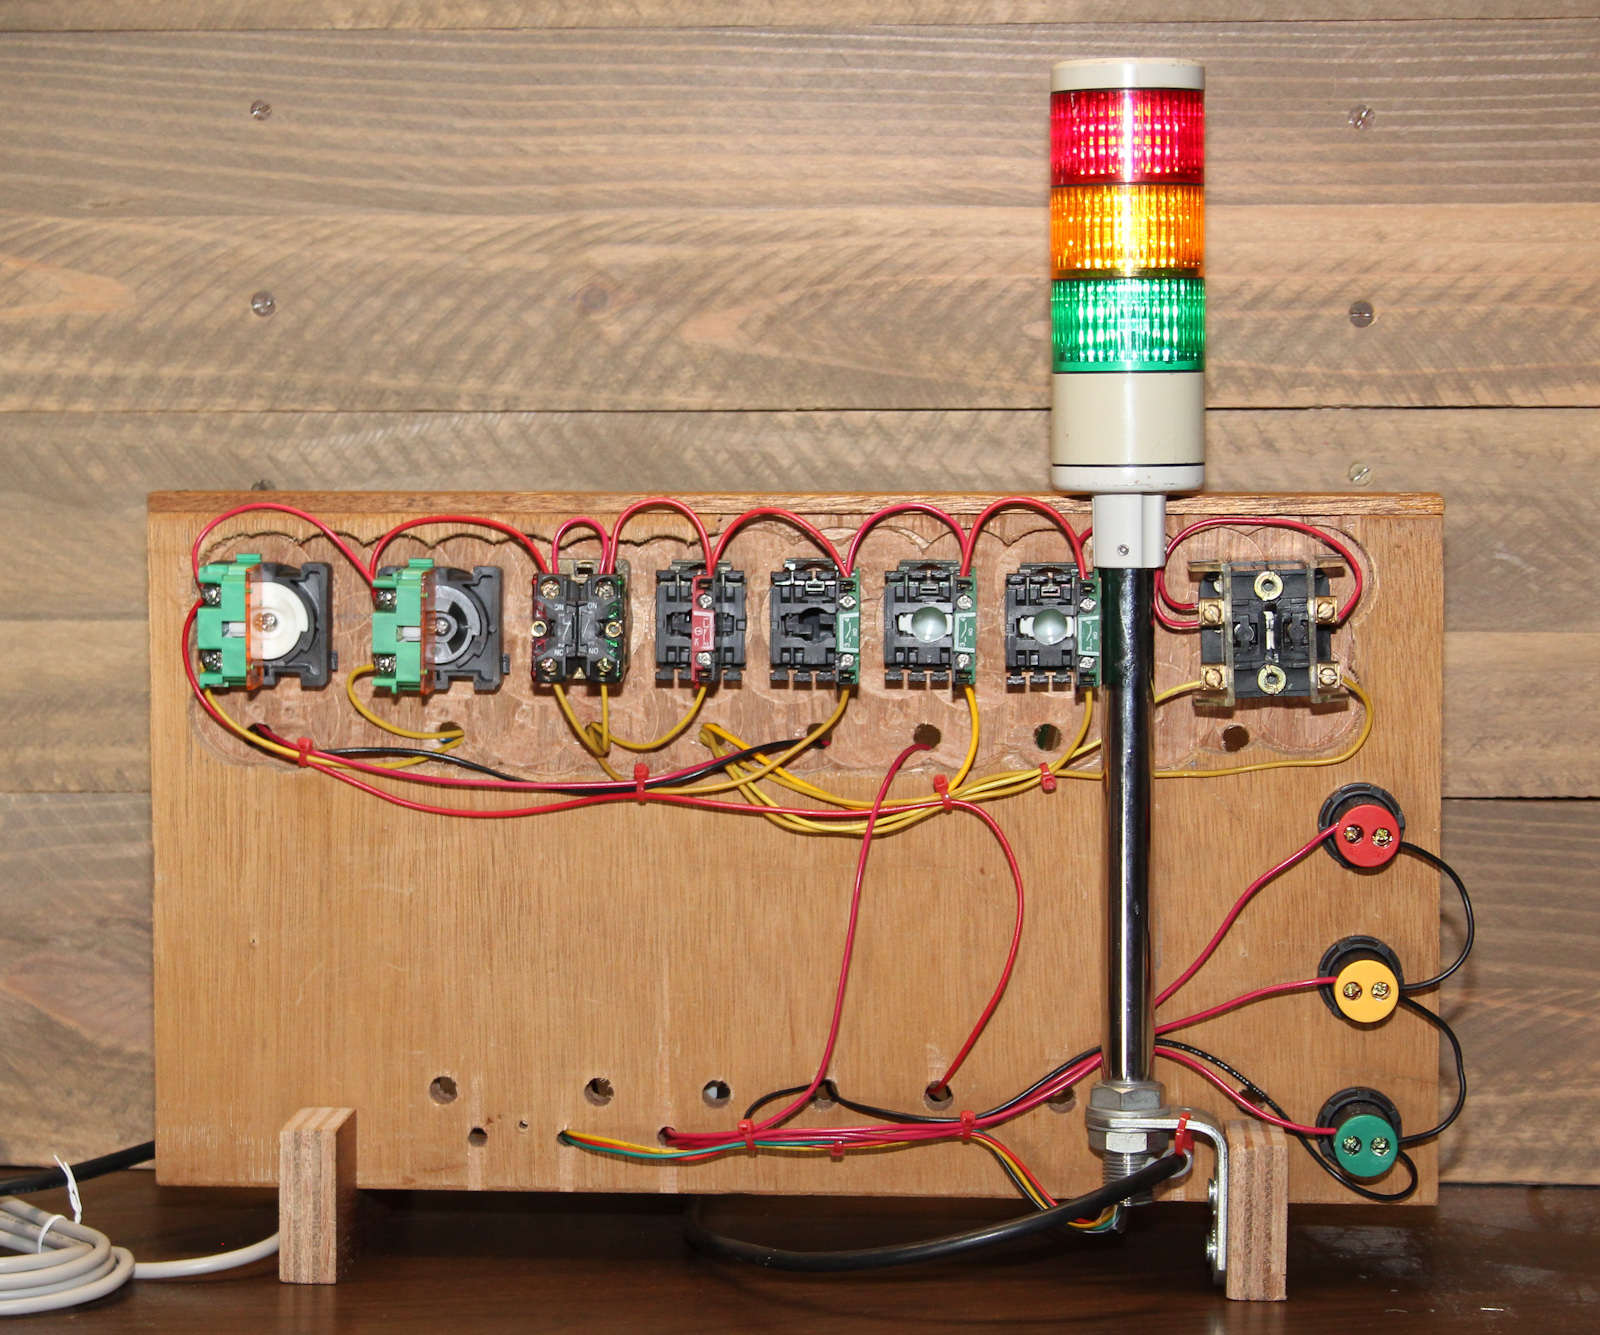
Another improvement I made with this trainer is the quality of the components. I sought out used parts online and obtained several Allen-Bradley switches and a PATLITE stack light. I purposely included two each of red, amber and green indicators so this trainer could be used to simulate a traffic light controller.
Future modifications
I originally built these trainers in 2018. I still have both of them but have since sold the MicroLogix 1100 PLC. I plan to eventually move the CLICK PLC to the former MicroLogix trainer since it’s a better design. When I do, I might replace the stack light with board mounted indicators. It looks cool, but it makes storing the trainer difficult due to the increased height.